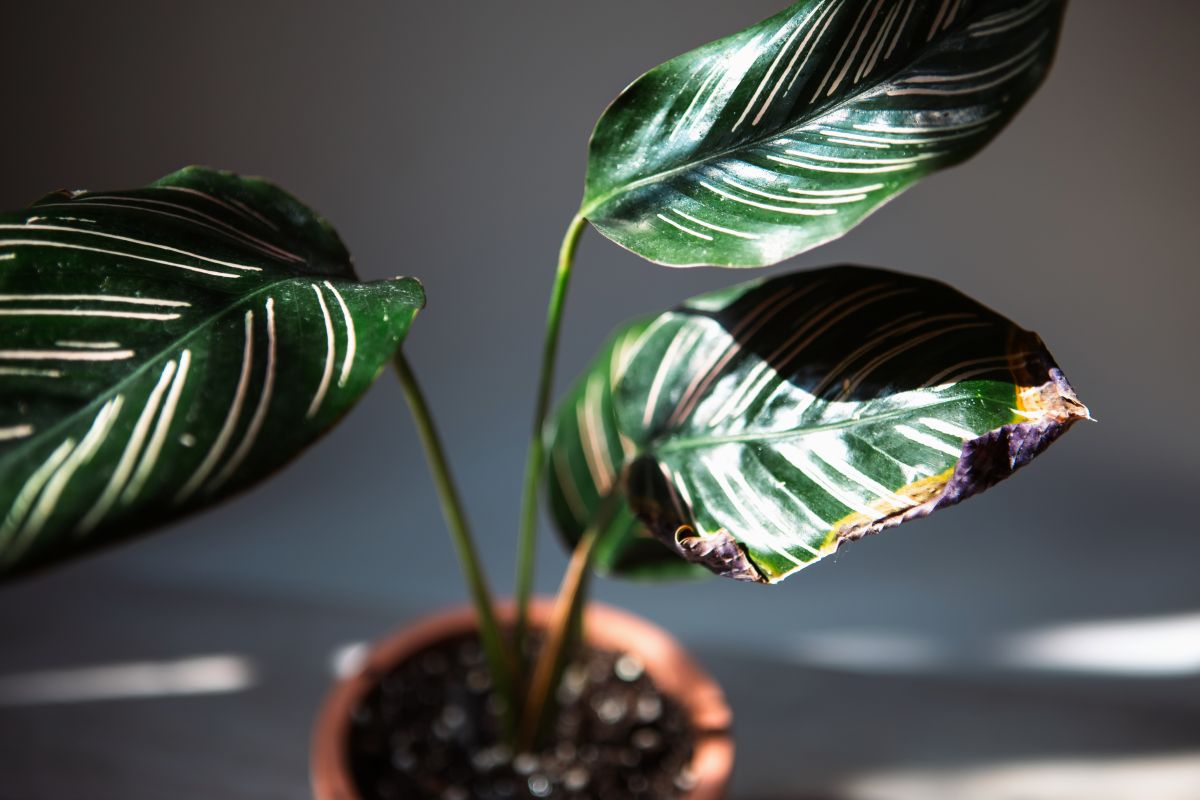
Repotting is a delicate process that must be done for most houseplants. This would help promote strong and healthy growth. It should be done with caution as you risk harming the plant if done wrong.

It is recommended that you repot a plant if you notice any of the following;
- It’s been a while since you repotted it.
- The plant looks bigger than its pot.
- The plant appears to be growing through the drainage holes of its pot.
- You notice soggy soil for too long.
Before you begin repotting plants, you would need a few items or supplies. These items include;
- A new pot.
- Protective gloves.
- Trowel.
- Watering can
- Porous material
- Sterilized knife or scissors
- Quality potting mix.
How To Repot A Plant
1. Examine the pot size

The size of the pot should be first considered when repotting plants. Be sure to do a proper check on the pot by comparing it to the previous pot. Ensure that it is bigger, as the plant should have increased in size.
Don’t just compare the width of the pot, examine the depth too. The new pot should be at least an inch bigger. Also, check the base of the pot for drainage holes. Ensure they are wide enough for the proper passage of water.
2. Choose the right soil mix

A fresh batch of the potting mix would be needed for the new pot. Always use well-draining soil when replanting plants. This is because they hate soggy soil and would prefer a moist soil. You can achieve this by adding perlite to the soil mix. Some peat moss would also do well in the soil mix.
3. Add soil to the new pot

It helps to cover the drainage holes with a porous material. You can make use of a coffee filter. Doing this would stop the soil from falling through the holes. Once this is done, proceed to layer the new pot. Do this by pouring the new soil batch into the pot.
Ensure the soil added is well distributed. You would need to add more soil later, so create enough room for this.
4. Remove the plant from the old pot

Be sure to water the plant before you remove it from its old pot. The watering should be thorough and deep. By doing this, you help keep the plant healthy and ready to be removed.
With caution, remove the plant from the old pot. Do this by turning the plant over and letting it fall with ease on its own. If the roots are stuck to the pot, use a knife to separate them, but be gentle.
5. Prune the root ball

Use the sterilized scissors or knife to prune the rootball. Take your time in doing this so you don’t damage the roots. Clear all unhealthy looking-roots. Also, untangle them until they are left growing straight and outwards.
6. Put the plant in the new pot

Be gentle when placing the plant in the new pot. Press it into the soil mix, so that it is firm. Make sure the plant is upright and settled at the center of the pot.
With that being done, water the plant next. Ensure the watering is deep and that water passes through the drain holes. After this is done, do not disturb the plant for at least a week. Keep it away from excessive sunlight as its roots would be sensitive.
Adding fertilizer to the plant should be done after a month of repotting. The fertilizer added should be small so as not to stress the roots.
Frequently Asked Questions
Yes, the fall season would be great when repotting a plant. It leaves the root system fresh for the winter.
Repotting houseplants in the winter is good. Repotting can be done anytime, as long as the plant needs it.
If you choose to not repot a plant. It can overgrow its current pot. This would leave the plant’s roots stressed and limit its growth.
Make it a point to always repot your plant often. Doing that at least every 16 months would be crucial.
The best time to repot a pothos plant is the spring season. This is the plant’s growing season.


